
How I take and edit my pictures

I love pretty pictures. But...
My life is no more pretty or 'perfect' than the next mama that has 2 kids, is working, is trying to run a house with a dish washer full of dishes and another piece of lego under her feet, while the phone is being held between her ear and her shoulder as she is sorting something for work but feeling guilty (you didn't think we could skip the guilt) that her full attention should be on reattaching Barbies head that's in pieces in her hands.

But if you look at my Instagram it looks rather 'perfect' and it is, it's my kind of perfect where I share a lot of my hard times and struggles under my pretty pictures, but 'pretty pictures' are my hobby, my light heart in sometimes hard and long days and my little escape. In my opinion, when people are happy that's 'perfect' pictures, some of the most 'perfect looking' pictures the people aren't happy (if that makes sense, I am still taking strong pain killers right now 🙈).
My feed may look staged as it's bright and airy, but I have 2 young children, that's impossible. Really, it's all very real life, just with a good angle, a little lighting and some tweaks. I don't 'photoshop' anyone's faces or take few inches off hips but I do bring out the best in photos (or try to).
I get asked how I edit my pictures and someone once said to me 'don't tell people how you do it'. Well that's not me, this blogging and Instagram business is huge and if we tried to eat all the cake we would be uncomfortable and miserable.... no matter where you are in the ladder in life, your career, blogging, trying to learn how to cook.... turn around and hold out your hand, give that next person who reaches out a step up, in my opinion that's where true success lies.
So back to my pictures.
To take the pictures I use a digital camera but only since Christmas, before hand I used my iPhone 6 and edited my pictures exactly the same way.

The camera I use is the Olympus Pen 8 which you can find Here. I researched for so long (18 months to be exact) and I couldn't be happier with my camera. You can send your pictures wirelessly to your phone so instead of reaching for my phone now I grab my camera as it is no longer a hassle to transfer, you can buy and change the lenses for it, video record in fantastic quality, change settings depending on the focus you want etc. The camera was expensive but I definitely see it as an investment both for blogging and just capturing great quality pictures of the girls.
So I am ashamed to admit I still use my camera in 'auto' mode, however the pictures I am still very pleased with. I will get around to watching tutorials in the future.
After I take my pictures and transfer the ones I want I then quickly run them through an app.
The app I have been using for a long time now is 'Snapseed' I paid £1.99 over a year ago for it and I have definitely got my money out of it.
Now it's really important not to over edit as that can damage and reduce the image quality which may only be noticed once you print so I just do a few steps and I do this with most of my pictures, that's why when all together they sort of look similar, I definitely don't have a theme on my Instagram but my editing is similar.... you won't find a sepia tone sticking out like a sore thumb.
So I am going to use this picture as an example, I snapped this as I was writing this post.
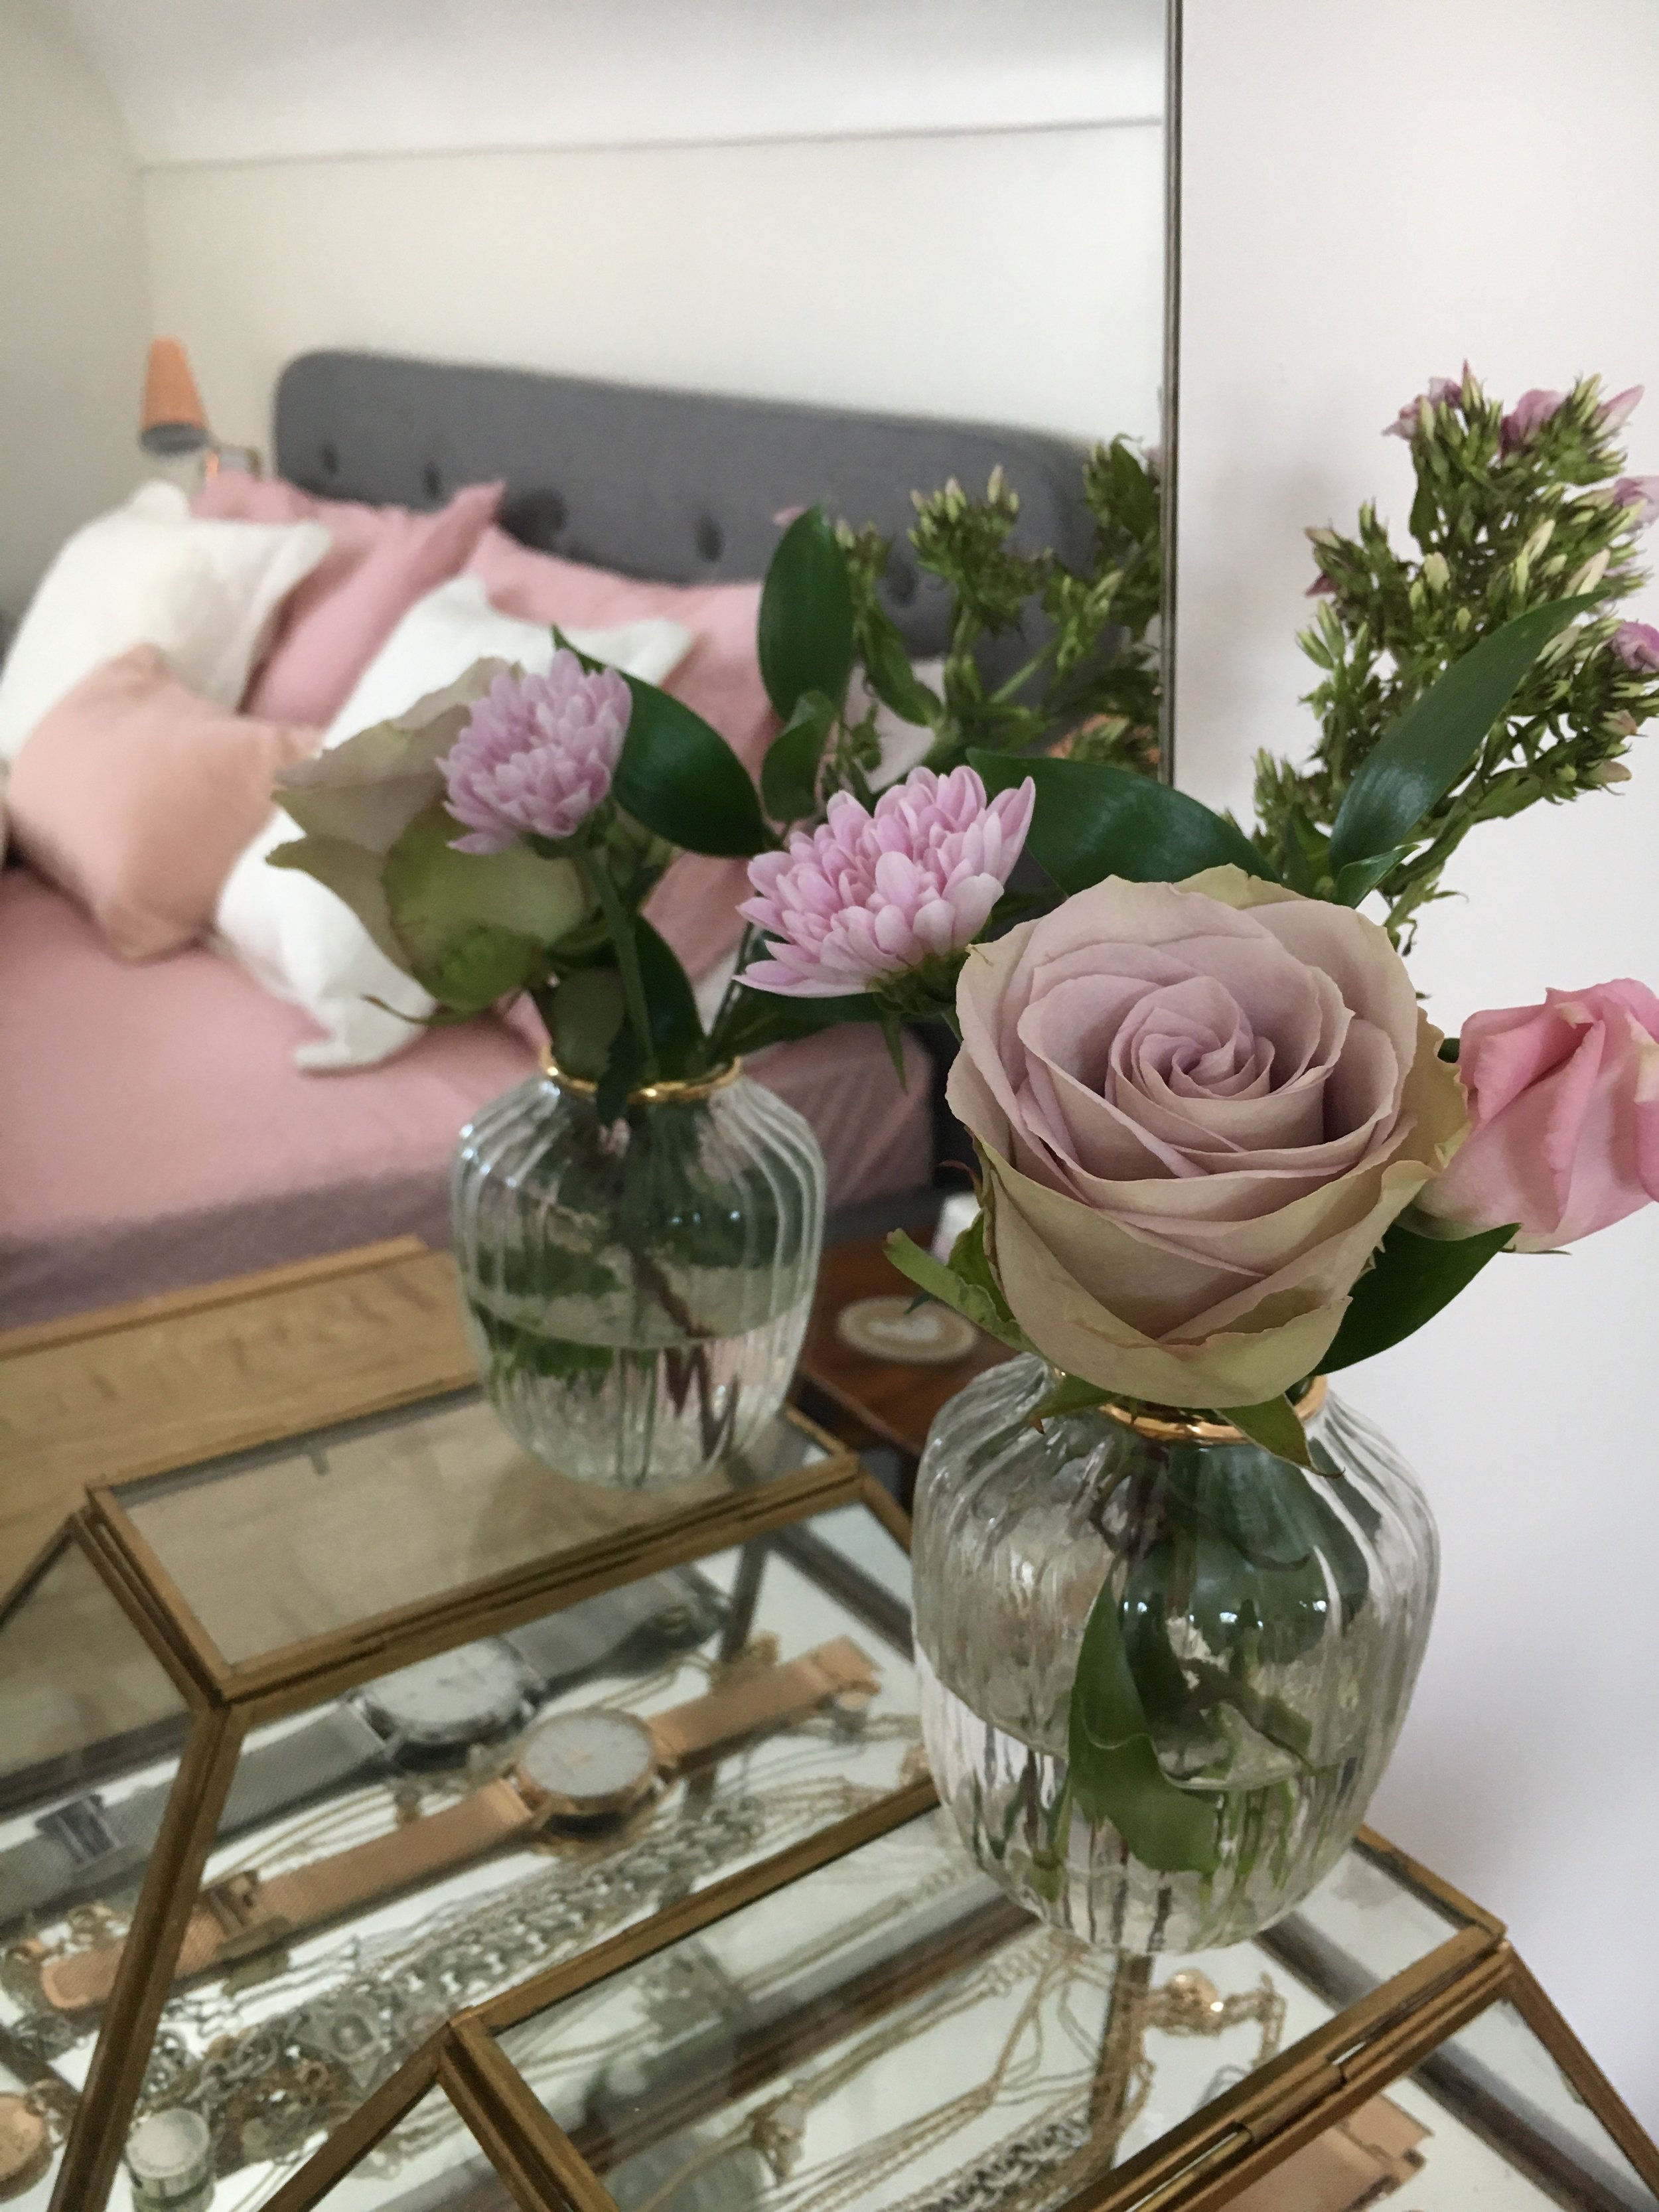
I just pointed and snapped this picture, then transferred to my phone.
I opened the Snapseed app and then opened the picture then pressed the 'pen' circle on the bottom left.
Which opens like this.
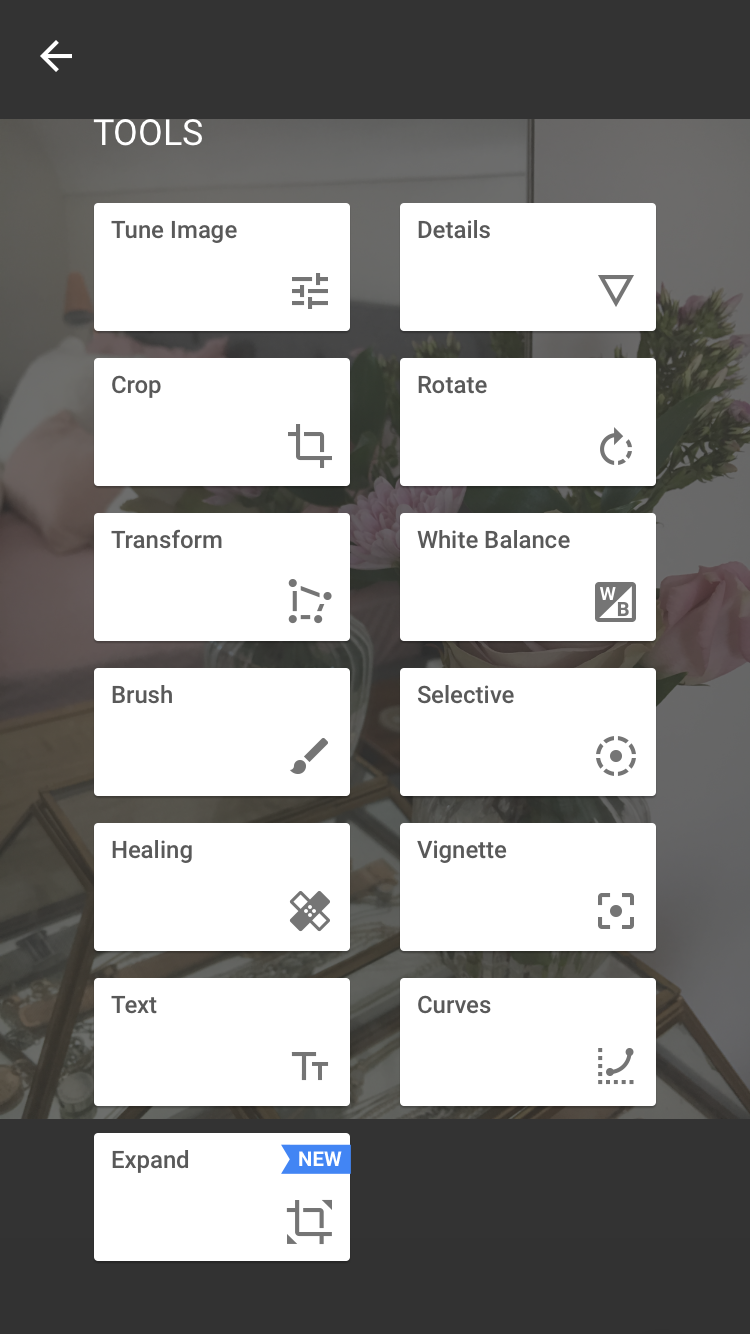
I hit 'tune image' and then drag my thumb to the right to increase brightness (left is decrease) I normally go to about 50 on this.
Then I scroll down which takes me to contrast where I increase by 10 (as by brightening a picture you can loose the detail so it is to add that again).
I then scroll down again and increase the saturation by about 5-10.
For ambiance it depends what type of picture it is, when you increase you can see more detail and definition but it is more saturated/ warm tone and if you decrease it protects the shadows more and brightens the areas surrounding. For this picture I decreased by 25.
And then that's it.

Before

After
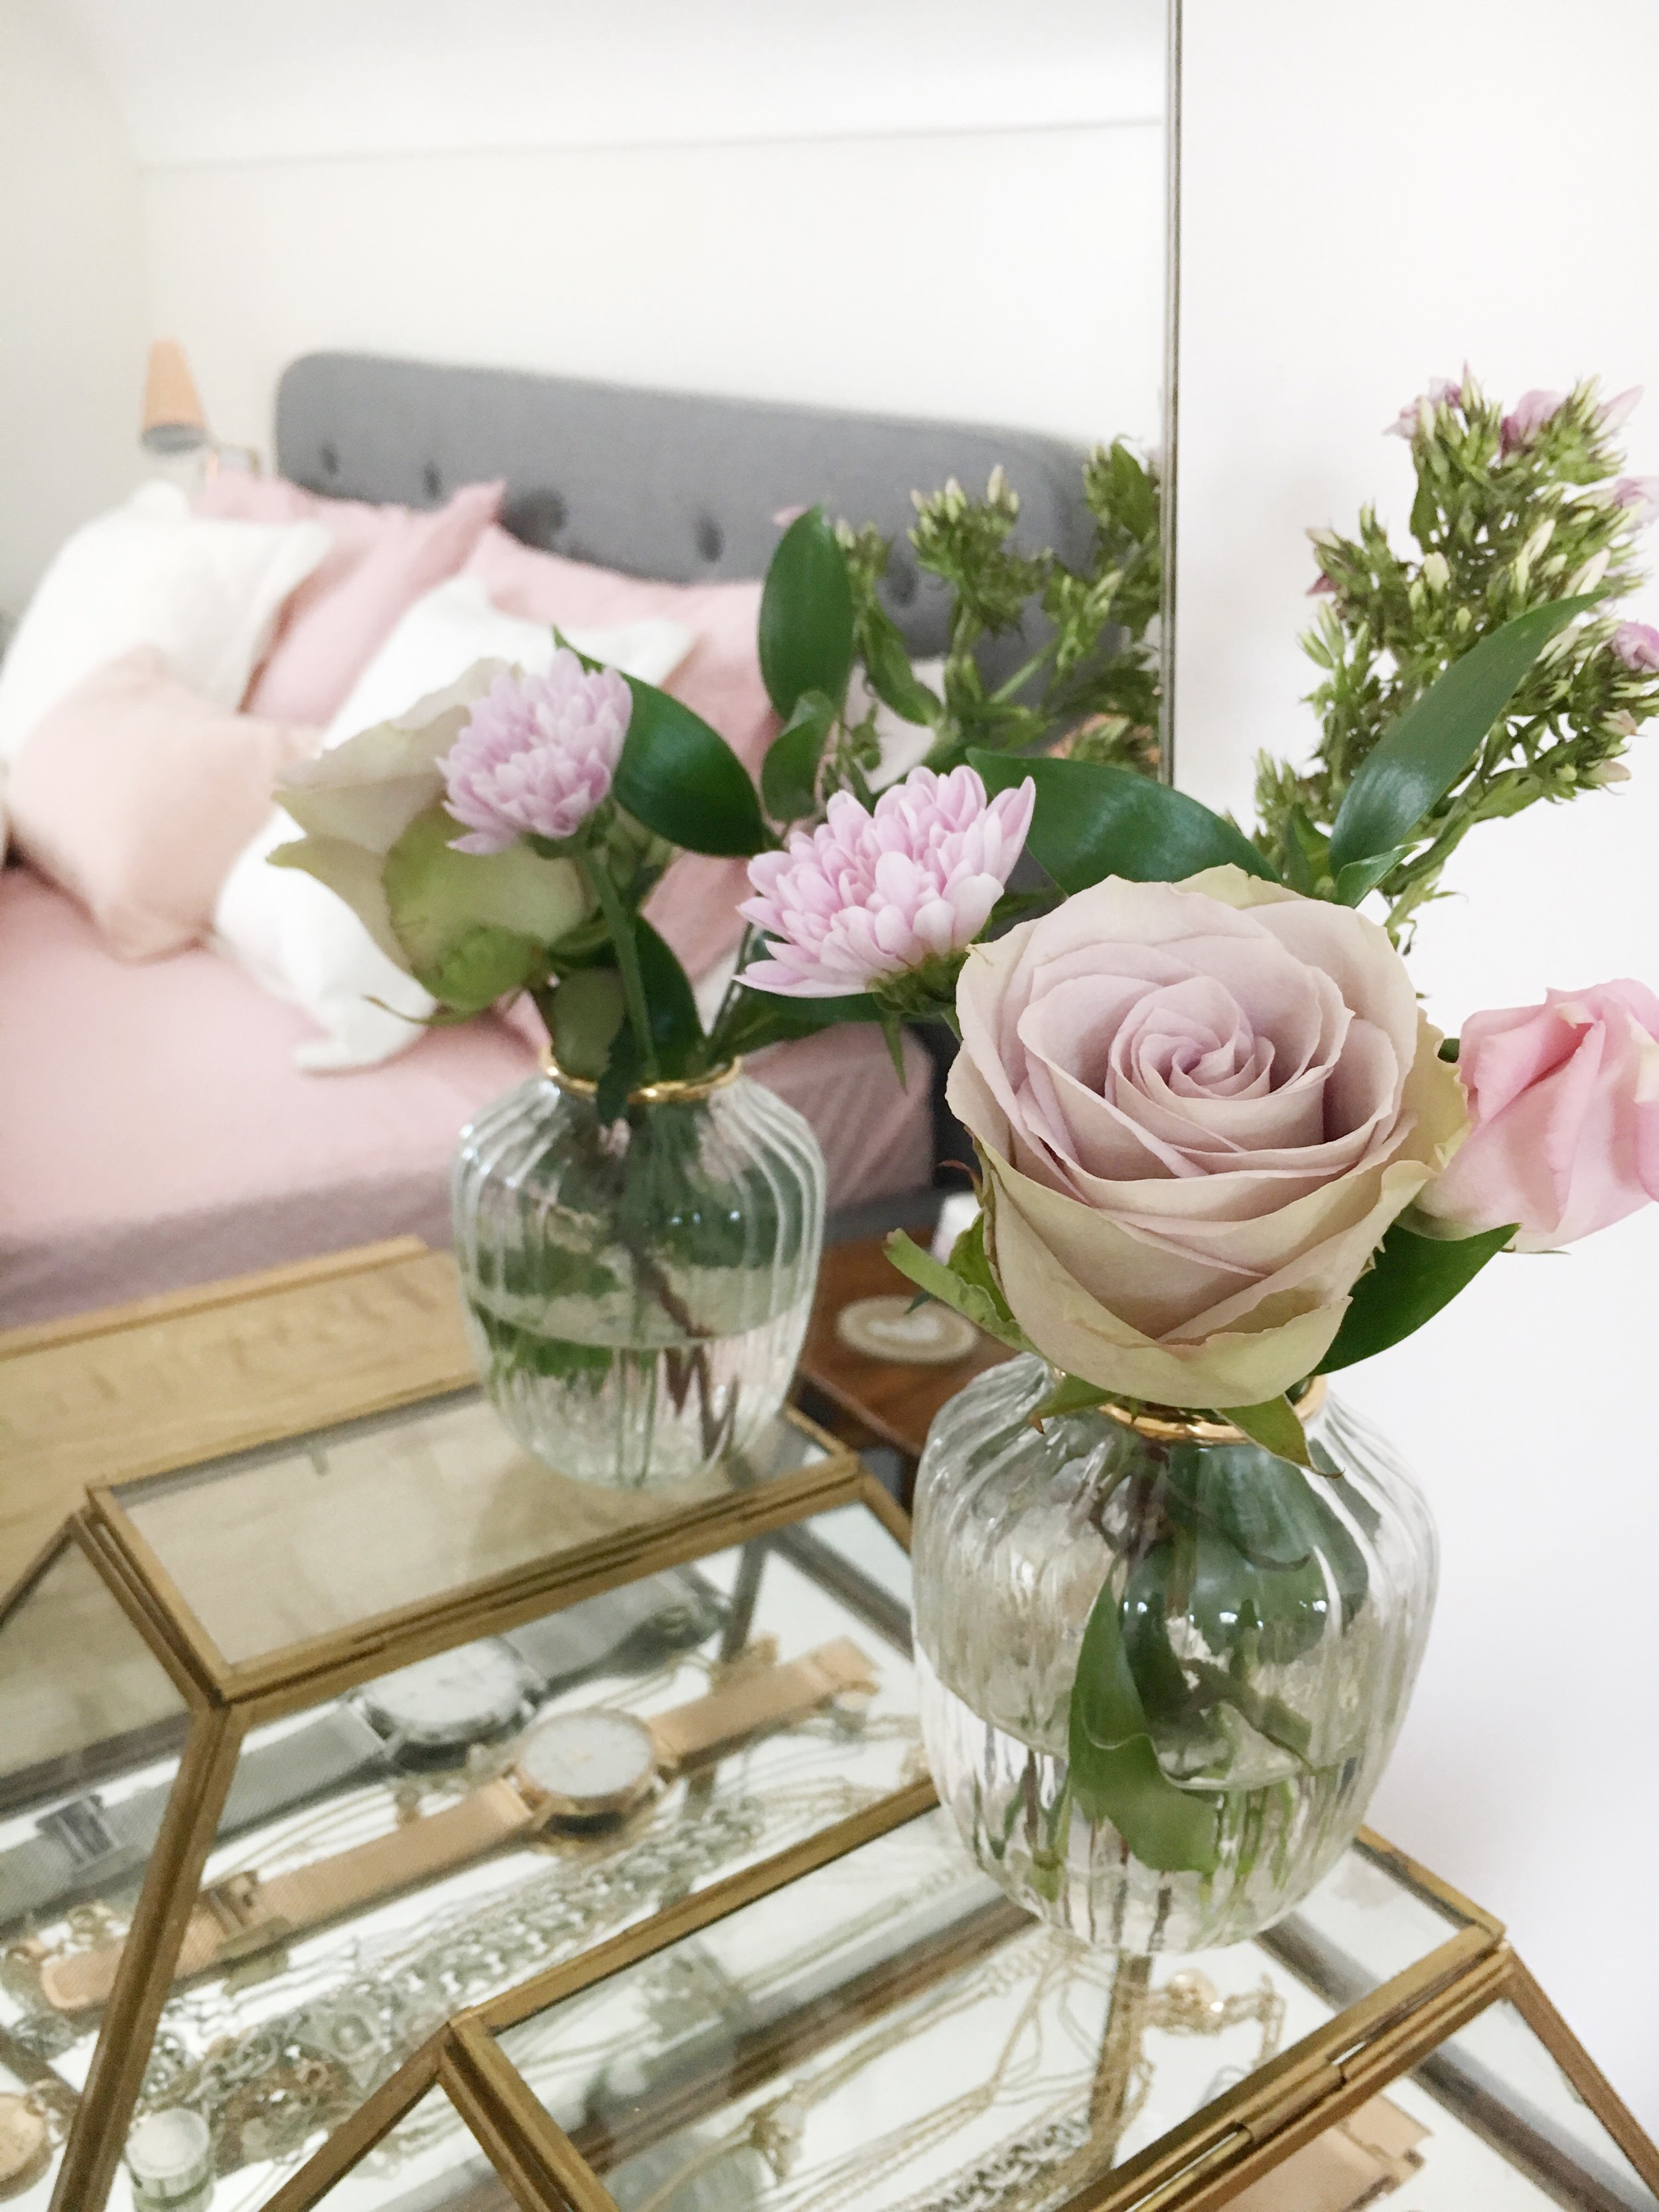
So the picture is still the same but just brightened a little and the other colours brought up with it.
Now this is the very, very basic and what I do to most pictures but you can blur areas, focus on certain objects and bring out the colour more etc and I do that all through snapseed but it's the very rare picture I do it with. Have a play around with the app, it is fab!
I hope this helps, if only just a little. If you have any questions I'm happy to try and answer them... like everything else, I'm no expert but I can share my own experience.
And here is a little 'perfect' picture I just have to share.... 💗 utter happiness!
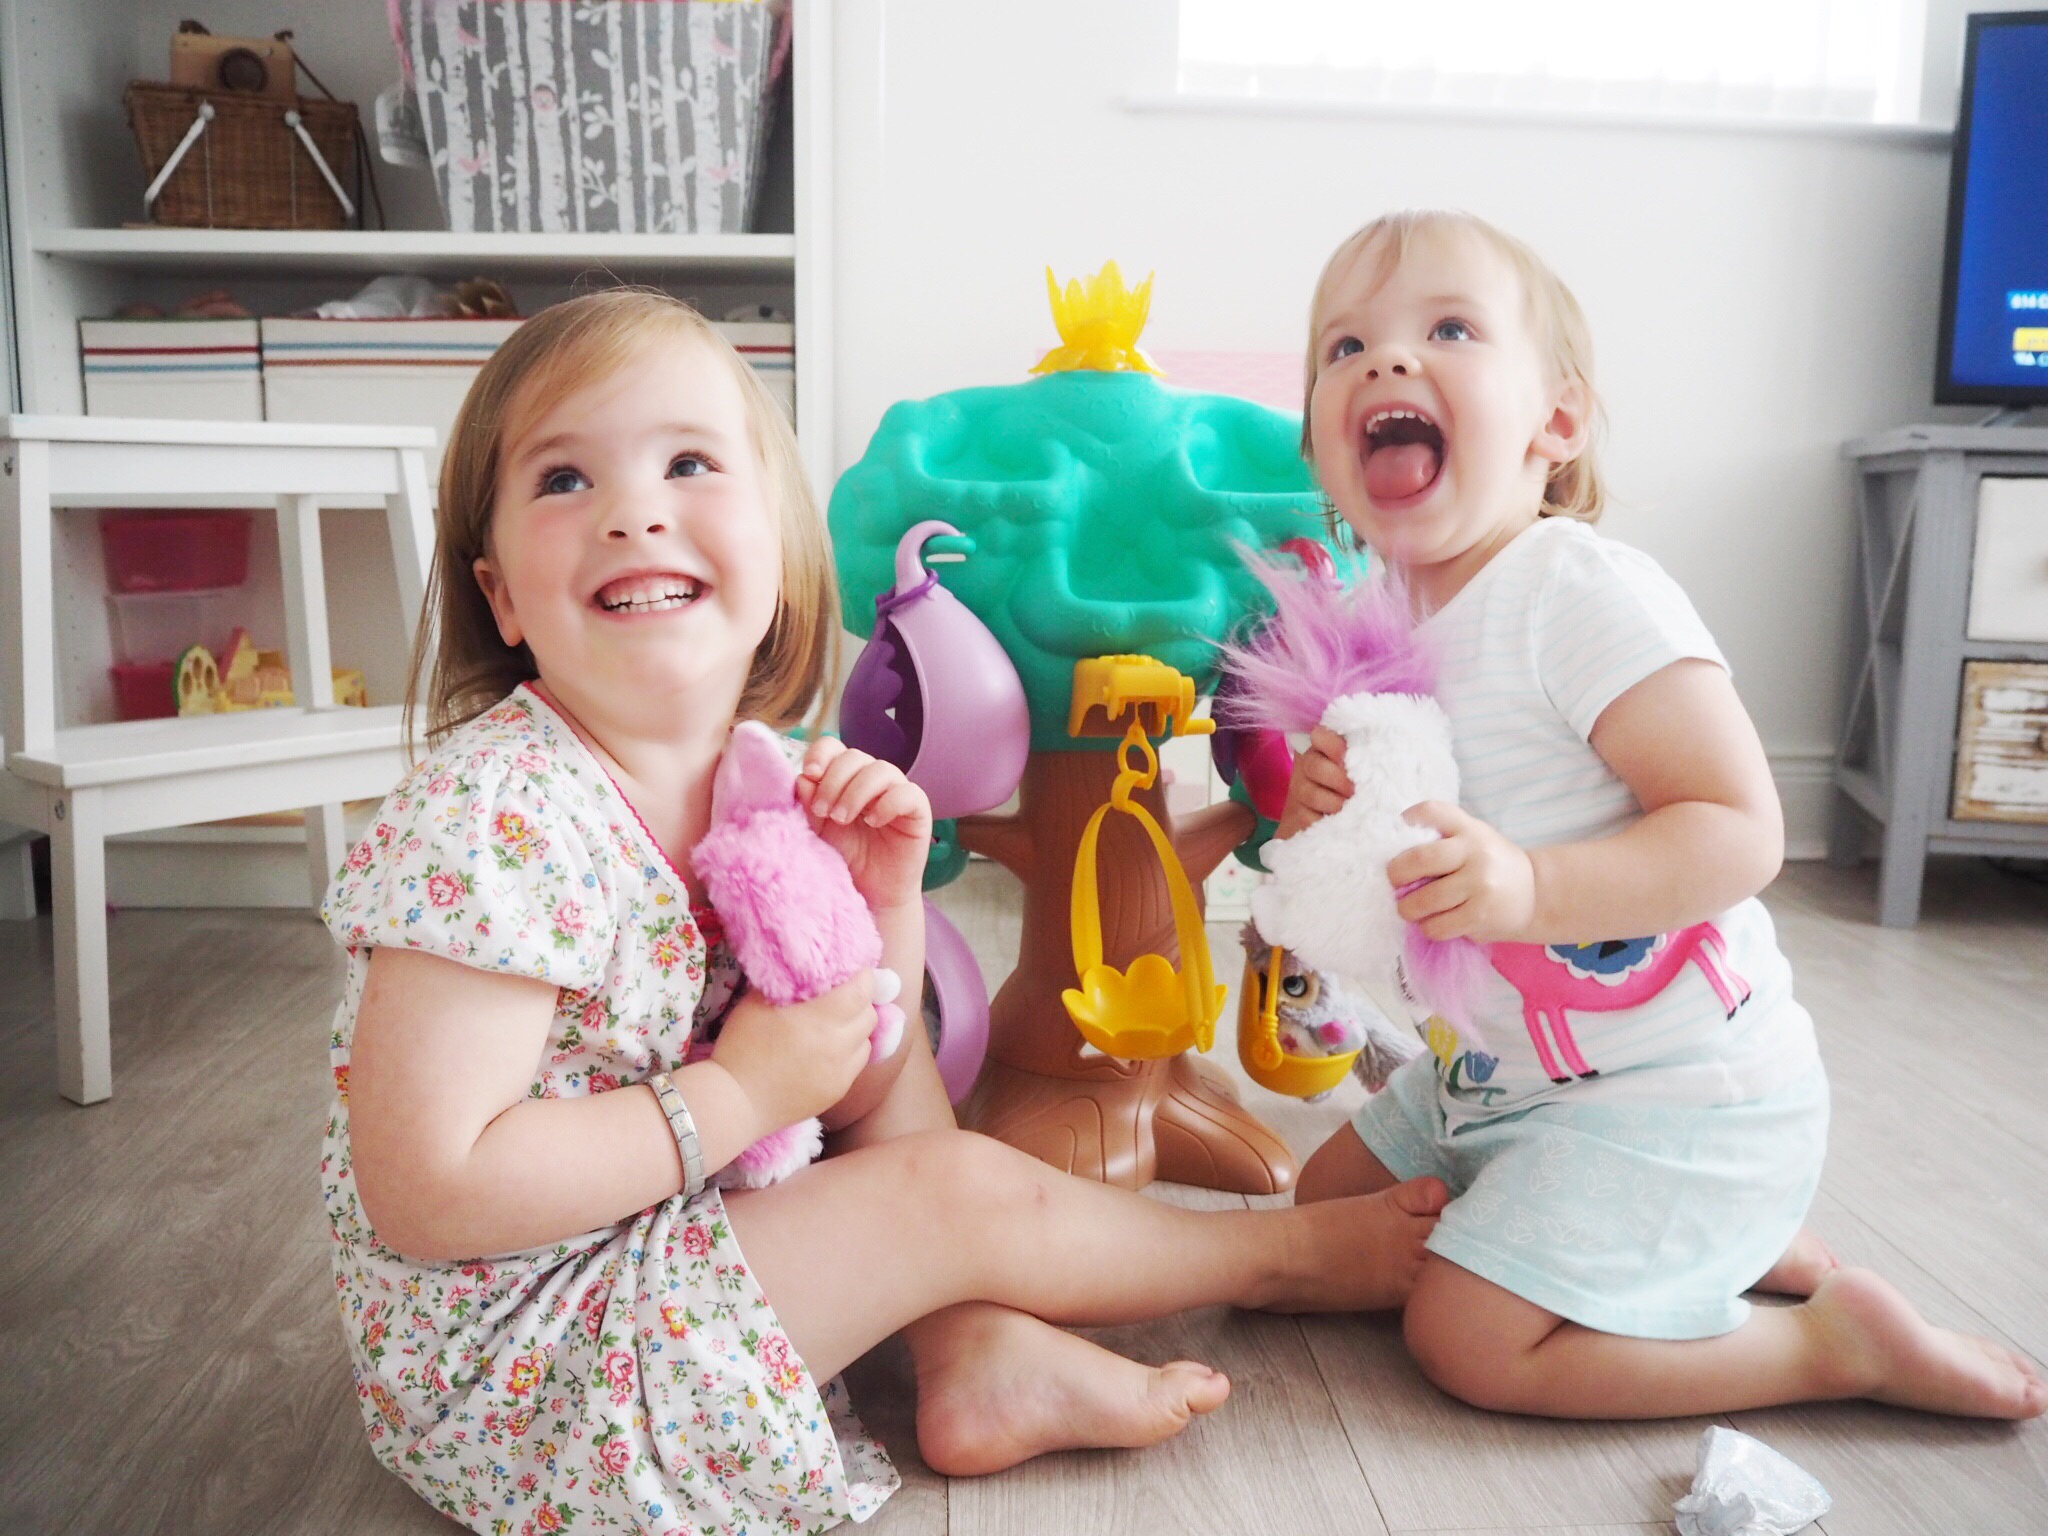
Anna xx